Home › Blog › Making videos
You want to make videos but you don't want your face in them. Pick one format that fits your topic: a screen recording for a software walkthrough, a slide deck with voiceover for a concept explainer, or B-roll clips with narration for a story. Open a blank document and build a two-column script. Left column: the exact words you will speak. Right column: the specific visual for each line, "cursor clicks Settings gear" or "slow pan across desk." This keeps recording tight and editing fast.
For footage, capture your own screen or phone clips first. If you need gaps filled, search Pexels or Pixabay and filter for the Creative Commons Zero license so you can use clips commercially without attribution. Record audio with your phone's voice memo app inside a quiet closet; hold the phone six inches from your mouth and run a ten-second test to catch echo before you commit.
Edit in CapCut, DaVinci Resolve, or iMovie. Lay the voiceover on the timeline first, then snap visuals to the script beats. Turn on auto-captions, fix the usual "their/there" errors, and export at 1080p. Upload with a clear title and a one-sentence description that tells viewers exactly what they'll learn.
Key takeaways
Choosing the right format saves you hours of editing later because it decides what visuals you actually need. If you pick a style that fights your topic, you'll spend all night hunting for clips that don't exist. Start by matching the format to the job the video has to do.
Listicle or countdown videos work when you have distinct points to rank. Imagine a bakery posting a 30-second video titled "3 croissant mistakes that ruin the flake." Each mistake gets its own five-second clip: dough tearing, butter leaking, pale crust. You only need three clear shots and a closing frame with the shop logo. Tutorial or process videos fit anything with steps. A coffee roaster might show "How we dial in a new bean" with seven quick cuts: scale, timer, pour, bloom, drawdown, cup, label. The script writes itself because the visuals are the steps.
Commentary or essay style suits opinions, breakdowns, or stories where you talk over B-roll. A bike mechanic explaining "Why your chain skips under load" can layer voiceover on top of close-ups: cassette teeth, derailleur hanger alignment, chain wear gauge. Data or listless explainer videos lean on motion graphics, charts, or kinetic text. A freelance designer sharing "What I charge for a logo in 2024" can animate price tiers sliding in over a plain background, no camera footage required. Reaction or review videos let you pause a public domain clip, a game trailer, or a product shot and talk through it frame by frame.
Before you commit, run a quick mental checklist: - Can I find or make at least ten distinct visuals for a sixty-second video? - Does the format let me stay off camera without looking like a slideshow? - Will the viewer understand the point if they watch on mute?
If the answer is no to any of those, switch formats now. It takes thirty seconds and saves a wasted afternoon.
Start with the problem your video solves, not your bio. A script for faceless content lives or dies in the first three seconds because there is no face to hold attention while you warm up. Write a one-sentence hook that names the pain point and hints at the payoff. Imagine a freelance graphic designer posting a 45-second reel: instead of "Hi, I'm Alex and I design logos," try "Your logo looks blurry on mobile because you built it in Photoshop, here is the vector fix." That line does the heavy lifting before any screen recording rolls.
Structure the middle as a numbered list of micro-steps so the editor can cut to a new visual every sentence or two. Keep each step under twelve words when read aloud; if you need more detail, split it into two beats. Read the draft into your phone timer; if a section drags past fifteen seconds without a visual change, trim or add a b-roll cue in brackets. End with a single, low-friction call to action: "Screenshot this checklist for your next handoff" works better than "Follow for more design tips."
When the voiceover sounds robotic, it usually means the sentences are too even. Vary length, short punch, longer explanation, short punch, and swap formal words for spoken ones ("use" not "utilize," "start" not "initiate"). If you stumble recording a line, rewrite it on the spot; the tongue catches what the eye misses.
Start by listing every visual beat your script needs, then match each beat to a source you can actually use. If the line is "the dough rises in a warm kitchen," you need a clip of dough expanding in a bowl, not a generic timelapse of clouds. Open a spreadsheet with two columns: script line on the left, source on the right. That keeps you from scrambling for footage while the timeline is open.
Free libraries like Pexels, Pixabay, and Videvo cover a lot of ground, but their most popular clips show up in thousands of videos. Type a specific phrase, "hands kneading dough close up" instead of "baking", and scroll past the first page. Filter for 4K so you can crop or zoom without losing quality. Check the license on each download; most are free for commercial use but a few require attribution you can paste in the description.
Screen recordings work great for tutorials. Open OBS, set the canvas to 1920x1080, record the exact window you’re demonstrating, and narrate later so the mouse moves stay clean. For product shots, prop your phone on a stack of books, tap to lock focus on the label, and film a slow 360 turn on a lazy Susan. Ten seconds of steady rotation beats a shaky handheld clip every time.
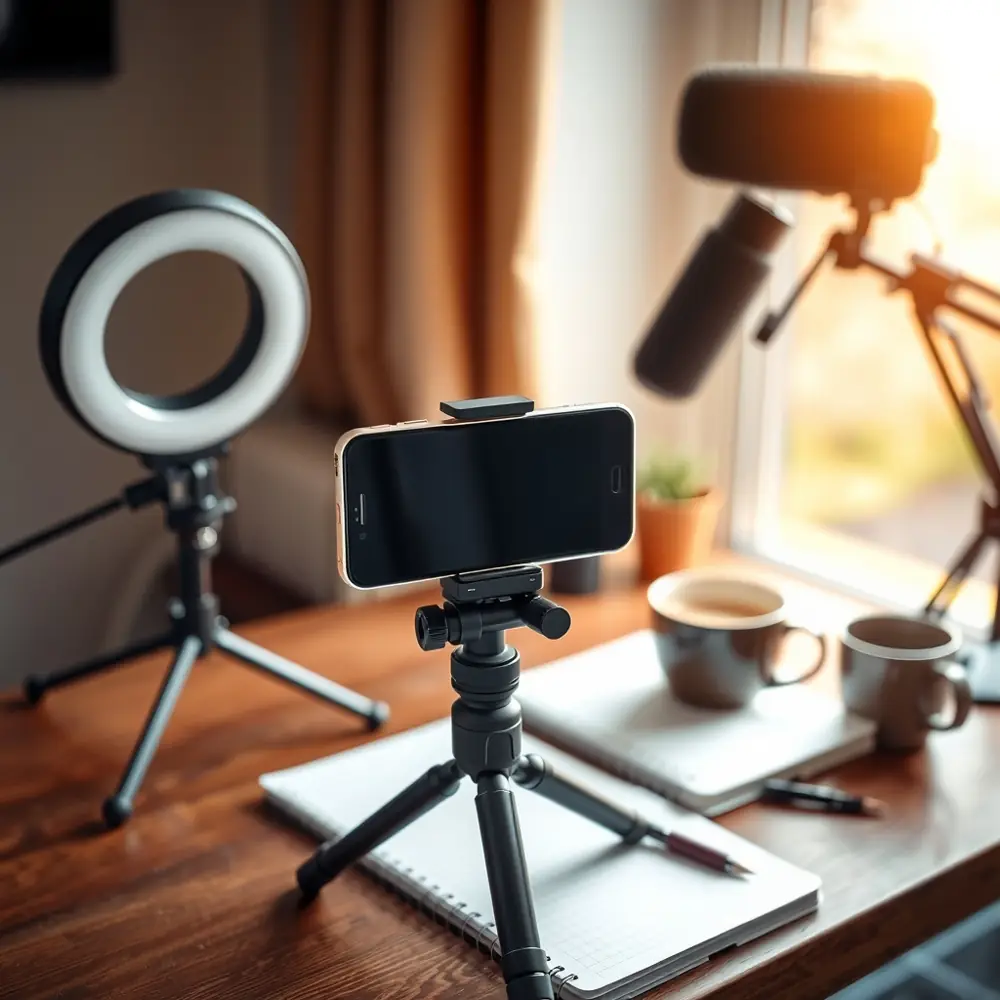
If you need something oddly specific, like steam rising from a sourdough loaf at 6 a.m., shoot it yourself. A phone on a tripod, a cheap LED panel, and a dark towel behind the subject give you a usable clip in five minutes. Rename every file with the script line it matches ("03_dough_rise_closeup.mp4") before you drag anything into your editor. That one habit saves hours of hunting later.
You don't need a studio microphone to get clean audio. A cheap USB mic plugged straight into your laptop beats a headset boom every time. Look for a cardioid pickup pattern and a built-in headphone jack so you can monitor yourself without latency. Put the mic on a short stand or a stack of books so it sits about a fist-width from your mouth, slightly off to the side so plosives don't hit the capsule dead-on. Record in a closet full of coats or under a heavy blanket draped over two chairs; the clothes eat the room echo that makes home recordings sound thin.
Open Audacity or your phone's Voice Memos app. Set the input gain so your loudest line peaks around -6 dB, watch the meter, don't guess. Read a test paragraph, then listen on earbuds. If you hear mouth clicks, drink water and wait a minute. If you hear a low hum, turn off the fridge or unplug the laptop charger and run on battery.
When a sentence trips you up, stop, breathe, and re-read just that sentence, don't restart the whole paragraph. Later you'll stitch the good takes together and the edit points will disappear under the music bed. If a take still sounds boxy after noise reduction, re-record that line under the blanket; it's faster than fighting artifacts.
Start by dropping your script into the timeline as a guide track, then line up visuals so each sentence lands on a matching clip. If you recorded voiceover in a separate app, import the WAV file and lock it to the video track so nothing drifts when you trim. Cut on the beat of the narration; when you say "mix the batter," show the whisk moving, not the bag of flour sitting on the counter. A simple rule: change the visual every three to five seconds, even if it is just a slow zoom or a crop to a detail. That keeps the eye moving without feeling frantic.
Watch for two common problems. First, audio gaps where you paused to breathe; ripple delete those silences so the pacing stays tight. Second, clips that run longer than the line they illustrate; trim the tail or extend the shot with a subtle Ken Burns move. If a transition feels jarring, add a one-second cross-dissolve or a quick dip to black instead of a hard cut. Color grade lightly: raise exposure a touch on dark stock footage, pull saturation down on oversaturated clips so everything feels like it came from the same shoot.
Before you export, run through this quick checklist: - Scrub the timeline at 2x speed to catch flash frames or black gaps - Check that music ducks under dialogue, aim for around -18 dB on the music track - Verify the final runtime matches your target platform - Export a 1080p MP4 with H.264 and AAC audio, it plays everywhere
Imagine a bike repair shop posting a 45-second Reel: script locked, six clips trimmed to the voiceover, music ducked, color matched, exported, done.
Captions do more than repeat the voiceover; they keep people watching with sound off and help the platform categorize the topic. Open your editor's caption track and paste the final script. Split lines so each holds a single thought, roughly two seconds of reading time. Picture a bike-repair channel posting a 45-second wheel-true tutorial. Instead of one block reading "Loosen the spokes on the left side then tighten the right until the wobble disappears," break it into: "Loosen the spokes on the left side." Next line: "Tighten the right side spokes gradually." Final line: "Spin the wheel to check the wobble is gone." That rhythm matches the visual cuts and feels natural.
Check timing against the audio. If a line lingers after the speaker stops, drag the edge until it snaps to the next cut. Watch for words auto-captions always miss: part numbers, torque specs, slang, and type them in manually. A quick find-and-replace for "Nm" to "newton meters" saves viewers a pause.
Style for readability, not flash. Use a clean sans-serif font at 18 to 20 pt, white text with a semi-transparent black box behind it. Keep the lower third clear: stay above 150 pixels from the bottom for Reels and Shorts, and above 200 pixels for TikTok so the caption bar and description don't cover your text. Turn on per-word highlight only if the platform supports it natively; otherwise it can glitch on export.
When something looks off, text drifting or box flickering, re-render just the caption track instead of the whole timeline.
Tonefy works on the website and in the Android app. In the app, the Idea to Video flow is a short sequence: type your concept in the box, tap Generate Script, then tap Generate Voiceover, and finally tap Generate Video. The AI writes a short script, voices it, matches stock scenes to each line, and burns in captions. On that same screen you can choose the voice from more than 300 AI voices across many languages, set the video format, pick a caption style, and add background music before the video is created. When it is ready you can save the file to your phone, post or schedule it, copy a link, or start another video.
If you already have a script, the Android app offers Script to Video. Paste your text and Tonefy finds footage for every line, voices it, and adds captions. For an article or blog post, URL to Video does the same work: paste the link and the app writes, voices, and edits a short video from it. Captions come in 138 styles such as bold, highlight, neon, and sticker, burned into the video and editable in the editor.
The free plan includes ten minutes a month at 720p with a watermark. Pro and Creator are paid monthly plans with more minutes, 1080p without a watermark, and social posting and scheduling.
Pick a format that fits your topic, such as screen recordings for tutorials or B-roll with narration for stories. Write a two-column script pairing exact spoken words with specific visuals for each line. Open with a one-sentence hook naming the viewer's pain point. Source matching footage from free libraries or AI tools for every script beat. Record clear audio using a basic USB mic in a dampened space like a closet. Edit by locking voiceover to the timeline and cutting visuals to match narration every few seconds. Add burned-in captions split into single thoughts for sound-off viewing.
You've picked a format, written a script, gathered footage, recorded clean audio, edited the pieces together, and added captions that match the rhythm of your voice. That is the whole loop, and each round makes the next one faster.
For your first week, keep the scope tiny so you actually finish something.
Turn an idea into a finished short video
Type an idea and Tonefy AI writes the script, adds a voiceover, captions and matching scenes, then gives you the video.
Official help pages, where the current rules and limits are published. They change often, so check them before you post.